Showing posts with label alcohol ink. Show all posts

14 Feb 2021

Sketchy Rose Birthday Card

 I used the final alcohol ink panel from my previous post for this card. I had tried gold foil on all 4 panels and wasn't very successful. It worked the best on this panel so I continued the gold with everything else.

Using Paper Rose Studio Sketchy Rose, I gold heat embossed using Hero Arts gold  on vellum and fussy cut. 

The alcohol ink panel was cut down to be slightly narrower than a card front. A strip of gold mirror cardstock was added to the edge. I adhered the flower using tiny dots of glue on the embossing lines.

 Gold mirror cardstock was cut using Paper Rose Studio Large Happy Birthday die. For added dimension, I stacked the sentiment on teal cardstock.

I also stamped the rose inside the card using teal ink. 


Thanks for stopping by, 

Helen xo


9 Feb 2021

Finding My Mojo

 I've been struggling with my mojo recently. Creative juices seem to have dried up. So, I made some alcohol ink backgrounds to see if inspiration would strike. Some of the alcohol inks are shimmery so there's lots of sparkle! I also stamped and heat embossed some images onto vellum and looked through my stash to see what would work with the backgrounds. Thankfully, inspiration did strike!

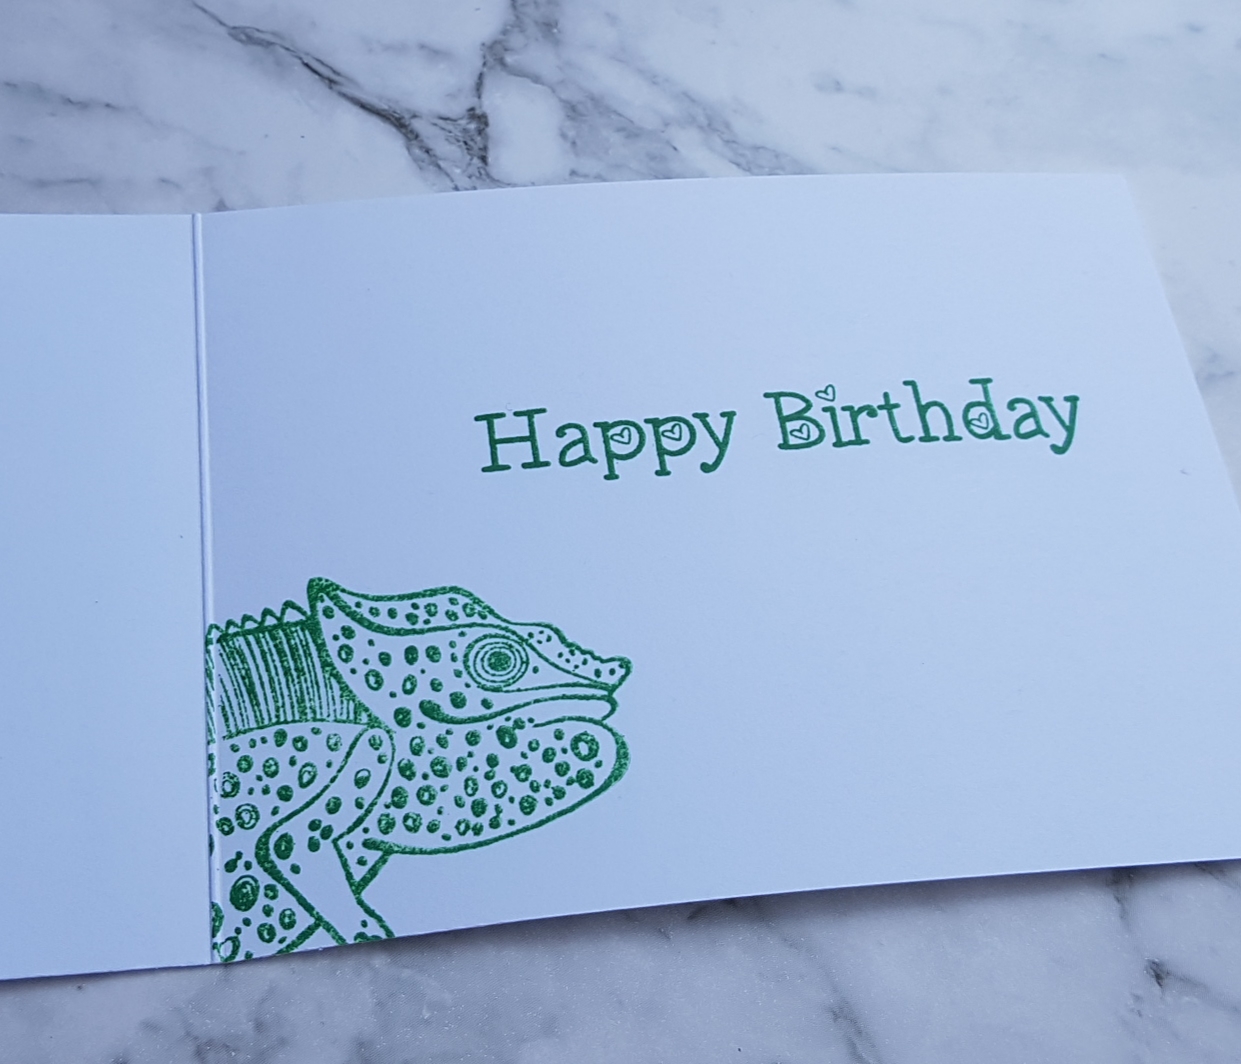
I chose Picket Fence Studios Charlotte the Chameleon for the green panel so stamped and gold heat embossed her. I then cut the panel down and matted it on black and then green. The front sentiment is from the same stampset. Added a googly eye to finish.


Card 2 is one of the pink backgrounds. I've never stencilled over alcohol ink before so I tried that and love how it looks. I'll definitely do that again. I just stencilled a few areas and not the whole panel. It's a little difficult to see in the photos.  The flower is Paper Rose Studio sketchy rose stampset. I white heat embossed the largest flower onto vellum, fussy cut and adhered using tiny drops of glue on the thickest lines. The sentiment is simon says stamp. Finished with clear jewels.


Card 3 is the other pink background. Again I've used paper rose sketchy rose set. This flower is stamped in black and clear heat embossed. I've coloured it using Zig real color brush markers in pink and violet. The sentiment is from Paper Rose as well. Finished with clear jewels.


Thanks for stopping by,
Helen xo


25 Aug 2020

Fairies In The Forest Celebrating A Birthday

 This card is for my granddaughter who's turning two soon. Where does the time go??

I started with 2 panels of shiny cardstock and used alcohol inks in pearl sublime ( main colour), with small amounts of willow, patina and sunshine yellow. The alcohol pearl ink gave a beautiful shimmer. I also added some gold foil.

When they had dried, I trimmed them both to card size and chose the best one and used a die from Hero Arts my monthly hero September 18 to cut out the centre.

I then used an oval die to cut out the middle of the other panel. I adhered to two together, but only around the outside edge so I'd be able to tuck the fairies in . 

I saved the off cuts to cut letters for Veronica's name using Hero Arts Uppercase Alphabet Fancy Dies and a couple of extra leaves I tucked in.

I thought it needed more, so inked around the edges with black soot distress ink ( as seen in the final photos).

I stamped and coloured with copic markers the fairies, house and flowers from Lawn Fawn Fairy Friends stamp set and used coordinating dies.

On another panel, I softly blended distress inks antique linen and mowed lawn. I regret not adding more texture here but we live and learn. This panel was adhered to the front of a Neenah desert storm cardbase. To this, I adhered the fairy house and some flowers.

For the shaker, I added acetate behind the opening in the alcohol ink panel and added foam tape around the oval and then covered the back with more foam tape. I've only used one layer of foam. I removed the release paper from only around the oval and added some seed beads and micro beads. Then added another layer of acetate to contain them.

I then removed the rest of the release paper and adhered this to my cardbase.

I tucked the fairies and some more flowers behind the leaves and added a gold 2.

I gold heat embossed Happy Birthday on an off cut but didn't like it on the front of the card so adhered it inside. The inside images are stamped in Momento rich cocoa and coloured with Prismacolor pencils.


Thanks for stopping by,
Helen xo


20 Jul 2020

Pink Thank you Card


This simple, yet beautiful thank you card was very easy to make using alcohol inks and gold heat embossing. 
I have not used yupo paper, but card stock that was being thrown out by a printing company. It's about 110lb and very shiney on one side. I used the shiney side. The ink doesn't move as well as it does on yupo, but still gives a nice effect and doesn't melt when heat embossed.
Colours I used were mainly flamingo with a little bit of sunshine yellow.
I used gold foil on the tacky bits which left some blue behind from a previous use but I wasn't worried about that.
I gold heat embossed the beautiful sketched flowers stamp from Simon Says Stamp which made the panel come alive. Then, using the thanks die, also from Simon, I cut gold card stock which was stacked on two layers of white.

Thanks for stopping by,
Helen xo

Tri Fold Shutter Card


This tri fold shutter card was made using Paper Rose Studio stamps and dies.
Gum leaves 3 dies
Snugglepot, Cuddlepie and Raggedy Blossom stamp set
Layered Happy Birthday die
Poppies stamp set
I started with a sheet of Neenah 110lb cardstock and cut it to 5.5 in by 10.5 in. I then inked around the edges using Hero Arts green hills ink and a makeup brush. I then stamped some branches from my monthy hero May18 using second generation of the green hills. As you can see, I made a mistake and forgot to stamp off one of the branches, but this was later covered.
The cardstock was then scored at 1.75 and 3.5 in from each end and cut between the end score lines 1.5 inches from top and bottom. 
There are many videos on Youtube showing how to do this.
I then lightly inked the cut edges for continuity. 
Now to make it pretty. 
I used green and yellow alcohol inks on 3 fairly large panels because I knew I needed a lot of leaves. I also used gold foil on the tacky areas for some sparkle. The leaves and flowers were then cut from these panels.
The gumnut babies were stamped in Versafine onyx black and coloured with zig real colour brush markers and then fussy cut.
I stamped the inside sentiment using green hills first. I then arranged the leaves and flowers where I wanted them.The happy birthday was cut from gold cardstock and adhered to the front. The gumnut babies to the centre panel. The card size when folded is 5.5 in by 3.5 in.


Thanks for stopping by,
Helen xo


Featured Post

Pink Thank you Card